If you’re looking for a new place to host your blog, why not try GitHub Pages. Powered by Jekyll, this powerful yet extremely simple flat file blogging system can be hosted for free at GitHub — either by using their free subdomain such as, username.github.io or your own domain name. So read on!

In this guide, I will explain in “really simple steps” on how to get a basic blog running on their subdomain, using a Mac. This method will make a local install of Jekyll which then will be synced with the GitHub repository. The guide was made on OS X Mavericks. But could be helpful for Linux & Windows users as well.
About: Jekyll is an open source, file-based CMS. Meaning that no MySQL database is needed, and instead of an admin backend, all blog posts are files that are synced with a GitHub repository. These files use either Markdown or Textile to produce static pages for a blog or any kind of website. Liquid template markup is used to design the site itself. You could also run this on your own HTTP server, supporting Apache, Ngninx and more.
Basic Setup
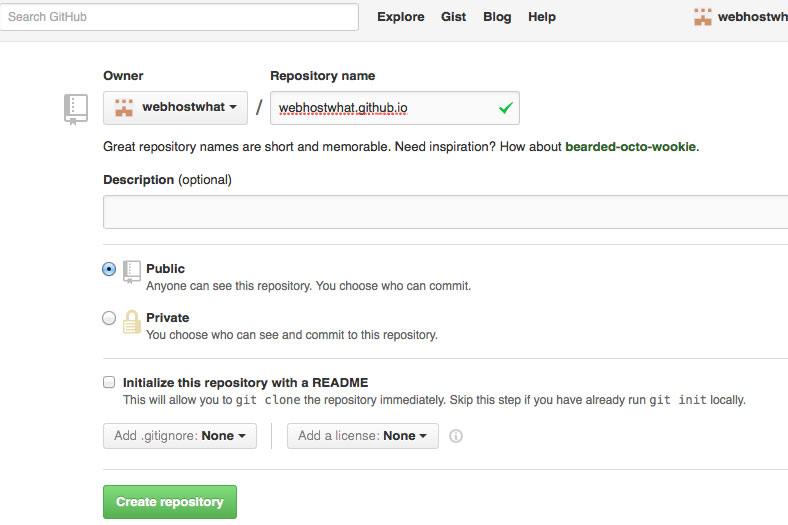
If you haven’t already, you need to: Join GitHub first and proceed to create your GitHub repository (note: link will give you a 404 if you’re not logged in).
Name the repository with the name of your subdomain in the format:
[username].github.io
Please note, that only your username will work as a subdomain.
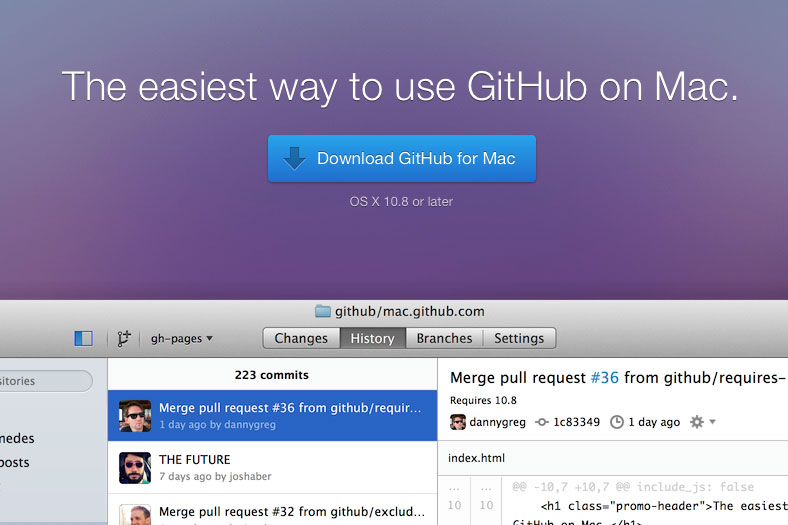
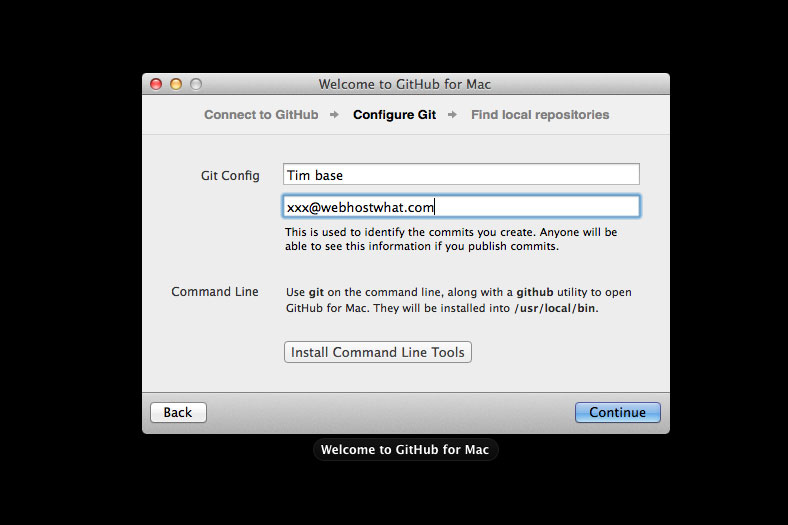
I will be using GitHub for Mac for this tutorial. Go through the first launch setup, and use your GitHub.com credentials to sign in to the app.
Remember to click on “Install Command Line Tools” during the installation.
Next let’s go back to the newly created repository at GitHub.com, and hit “Set up in Desktop” to open it up in the GitHub app.
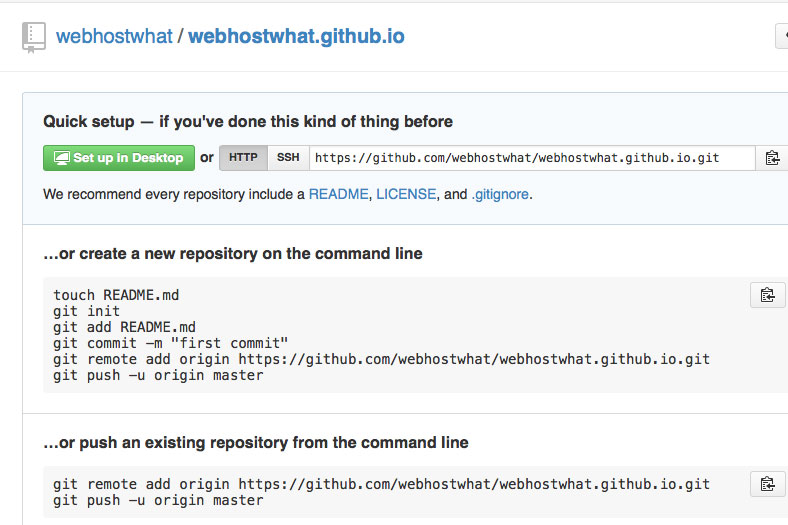
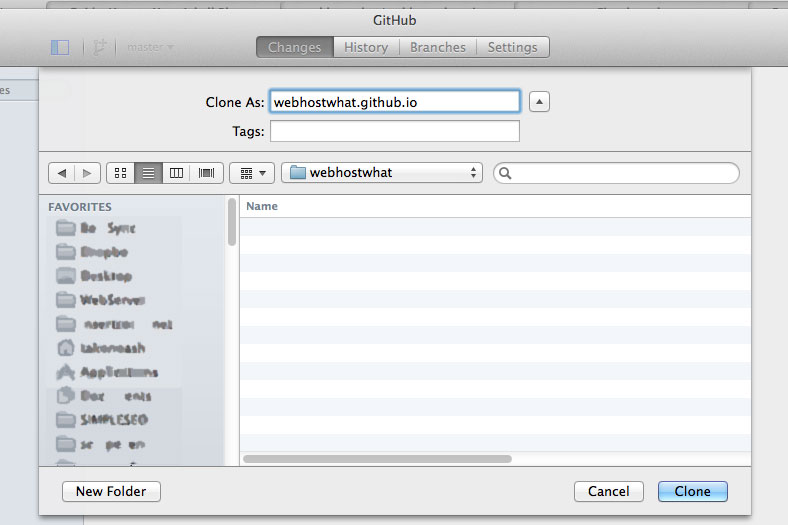
Clone the repository to: /Users/[username]/GitHub/[github-username]/ or any directory of your choice.
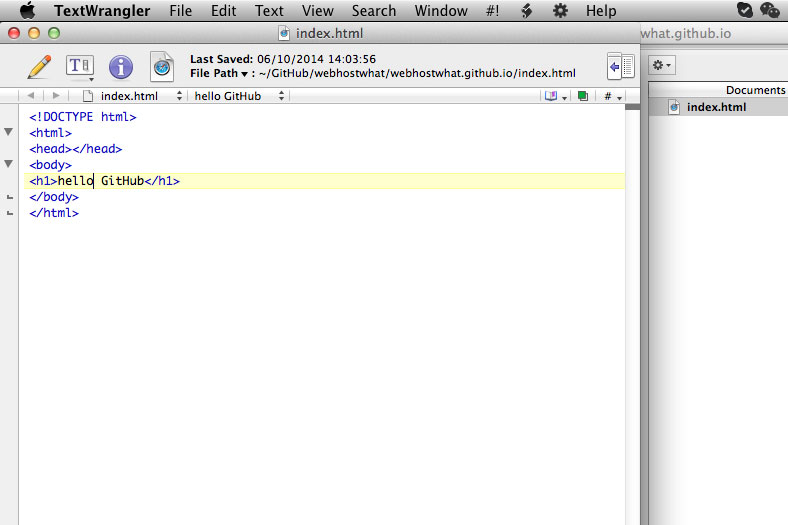
First let’s do a little test to see if things are working. Write up a simple index.html and place it in the folder we just created.
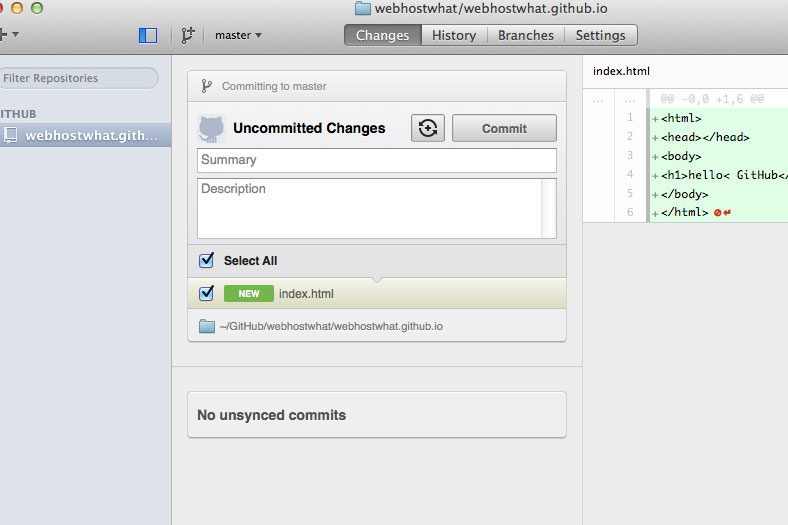
You should see the new file appear in your app immediately.
Write a brief Summary or Description, and hit the button next to Commit first and then —> “Commit & Sync“. Or you can use the sync button in the upper right corner after you have committed your changes.
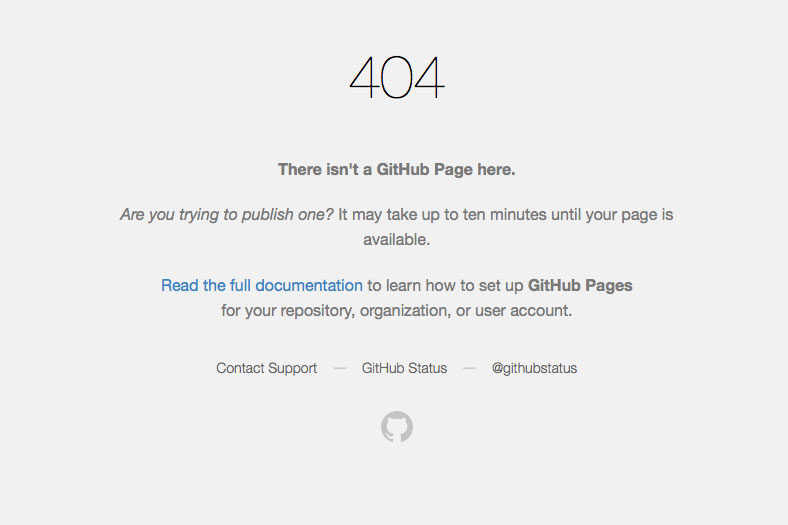
Now, all you need is to have a cup of tea.
And this is also a good time to not forget to verify your GitHub email address.
Local Jekyll Install
Then we will install Jekyll locally so that you can start building your blog/website on your Mac, and publish once ready.
Btw. you better get Xcode if you haven’t already.
Fire up your favourite terminal application and navigate to your GitHub user directory. Run the following command:
sudo gem install jekyll
This will install jekyll. If you get the following error message as I did:
Fetching: yajl-ruby-1.1.0.gem (100%)
Building native extensions. This could take a while…
ERROR: Error installing jekyll:
ERROR: Failed to build gem native extension./System/Library/Frameworks/Ruby.framework/Versions/2.0/usr/bin/ruby extconf.rb
mkmf.rb can’t find header files for ruby at /System/Library/Frameworks/Ruby.framework/Versions/2.0/usr/lib/ruby/include/ruby.h
To fix this, you need to install the Command Line Developer Tools:
sudo xcode-select --install
After the installation is finished, you need to accept the Xcode build license:
sudo xcodebuild -license
Now the build should work. And you can create your Jekyll blog with the following command. Just make sure it points to the directory that contains your repository files and that the directory is empty (remove the previously created index.html).
jekyll new webhoswhat.github.io
Then go inside that directory and start up the server:
jekyll server
The address to access your new website, will be:
http://0.0.0.0:4000/
Working With Flat Files
First look for _config.yml to do basic configurations such as title and other info.
In the directory _post you will place all the files that contain a blog post. It already contains an example post (2014-10-06-welcome-to-jekyll.markdown). Open it and you will see how markdown is used to create a post and you can replicate it to create your own.
There is also an example of a static page in the file about.md.
If you want to display the contents of the blog posts in the front page. Just add the following to index.html, after the post title code.
<div class="content">
{{ post.content }}
</div>
Commit, sync and voilà!
Jekyll Documentation will be your friend from now on.
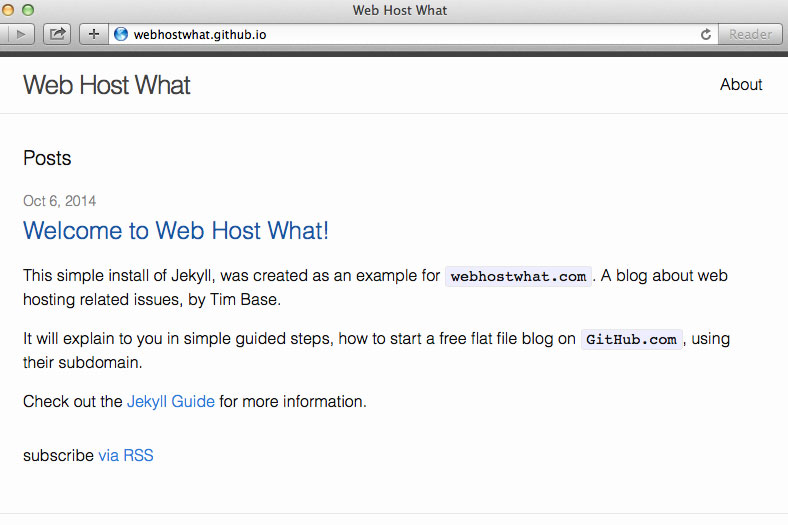
You can have a peek at the example blog here.
Just read your tutorial.
Only got a folder _site in the main one. – after jekyll server.
So I can’t access any flat files.
Do you have any ideas/hints?
Thanks so much!
Sorry, couldn’t help out much but you may always try creating the directories for yourself if they are not automatically generated. Thanks!
I still don’t get it. I keep getting the 404 screen like you have above.
What am I doing wrong?
Hard to say, but sometimes it seems to take forever.
Wow, very helpful, thanks for sharing.
Thanks for letting me know,
Glad to have helped. Tim.