The benefits of investing in high quality web hosting like SiteGround have taken on a whole new level with free SSL certification. Both thanks to the Let’s Encrypt initiative and SiteGround that was willing to forge ahead and stay competitive despite plummeting SSL certification sales. WordPress users rejoice..!
I’ll show you exactly how it works — with step-by-step pictures.
Interesting read! — first release announcement explaining why they did it.
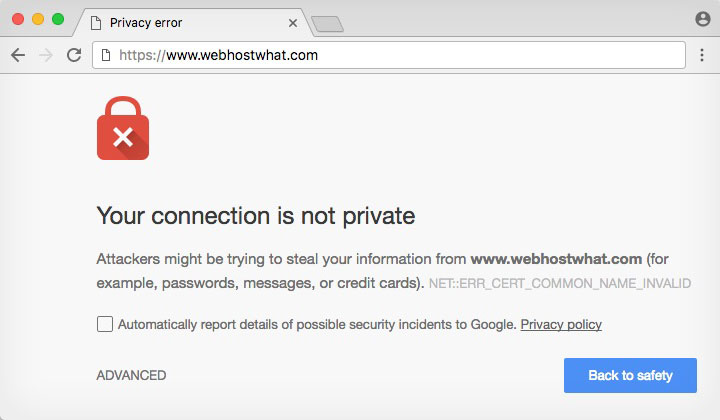
You might have a WordPress blog or website that shows a privacy warning when trying to access it’s https version with Google Chrome. To increase user protection and boost your Search Engine rankings, let’s make this work — for absolutely free.
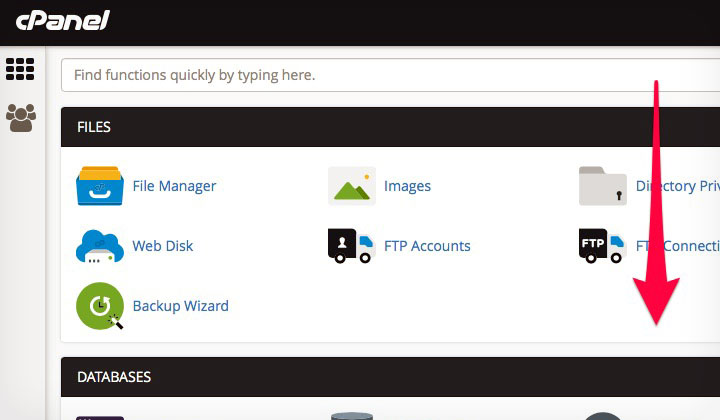
The nerve center of SiteGround hosting plans is called <<cPanel>>, it’s used by most hosting providers, and gives you access to all administrative functions — anything from super easy one-click WordPress install to advanced file managing.
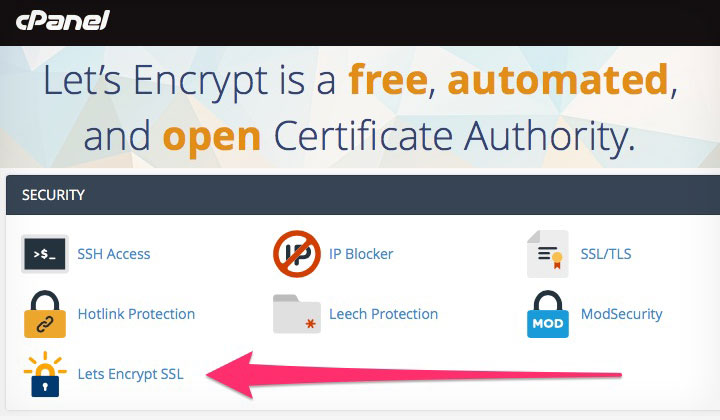
And — just scroll down the page to find the <<Let’s Encrypt>> icon.
Let’s choose the bright glowing lock icon <<Let’s Encrypt SSL>>.
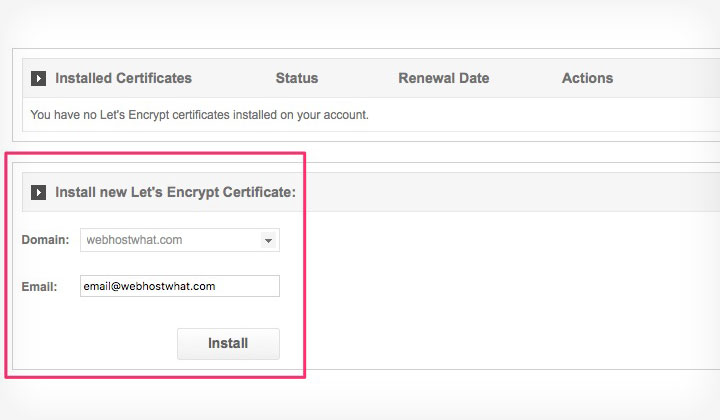
The next step is to select the domain that the certificate needs to be installed for and an administrative email address.
Almost any mail will do — but since you can make unlimited free emails with the account, I would make a separate email for use with the certificate and domain contact information. For example: “admin@mydomain.com“.
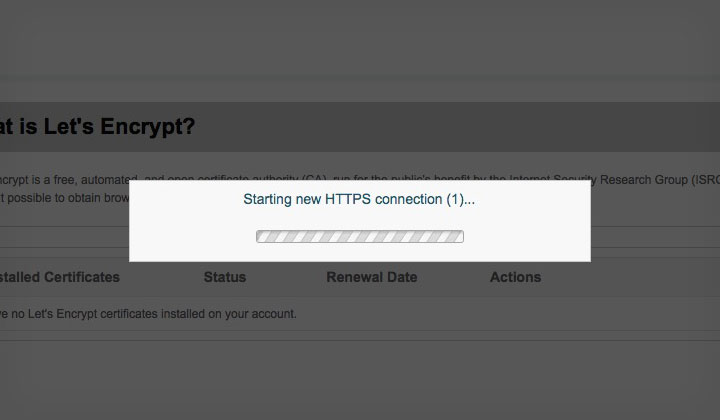
And lastly just hit <<install>> to finish the installation.
Just a little patience is required…!
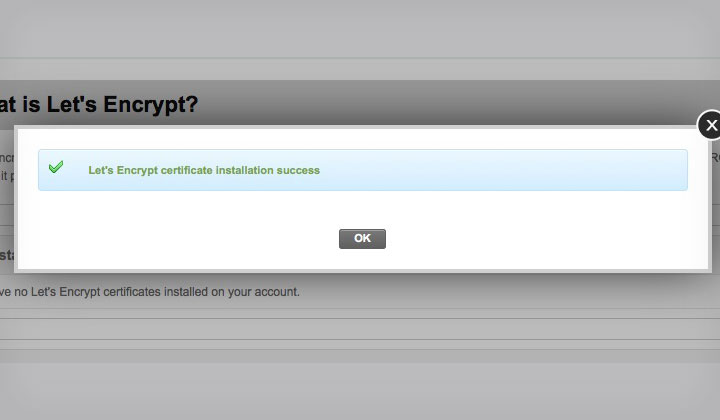
And it’s done — WordPress SSL secured for free with cross browser support. And say hello to increased search engine rankings.
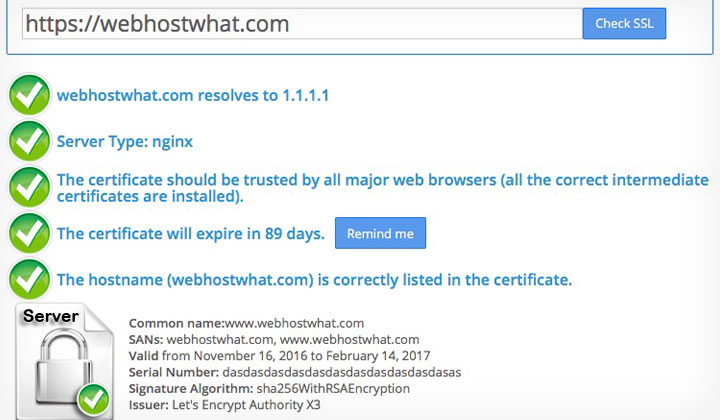
To test the certificate, head on to <<SSL Checker>> and insert your website address in the field to make sure everything is in working order.
Voilà…! Read on for all the specifics.
Useful SiteGround Links
- Let’s Encrypt SiteGround Tutorial
- What is Let’s Encrypt?
- What are the differences between Let’s Encrypt and the other SSLs you offer?
- How can I use Let’s Encrypt with Cloudflare?
- Let’s Encrypt lifetime and renewal
Let’s Encrypt Support
The certificate installation will work for any website, including WordPress, Joomla, Drupal and any other CMS (Content Management System) or HTML website. As well as all e-commerce platforms such as WooCommerce, Shopify, BigCommerce, Magento and many more! If unsure, ask me.
HTTPS Redirection Methods
To redirect all users to the newly secured HTTPS version of the website — on WordPress simply go to the general settings and change your website address from:
http://www.mywebsite.com –> https://www.mywebsite.com
For other CMS software — suggested methods can be different. However one that will work for all websites is to edit the hidden .htaccess file that should be located within your document root or so called public_html folder (it’s the folder where you put all your website files). If the file doesn’t already exists, you can simply create a new one with the “file manager” tool in cPanel.
Just don’t forget the dot “.” before the filename, otherwise it won’t work (the dot makes the file hidden).
This is the code:
RewriteEngine On
RewriteCond %{HTTPS} off
RewriteRule ^(.*)$ https://%{HTTP_HOST}%{REQUEST_URI} [L,R=301]
Note that the first “RewriteEngine On” line must be mentioned only once. So if it already exists, just add the two lines below it in the bottom part of the document.
Otherwise — Siteground support will be glad to help you out with setting up the redirection. And don’t forget to submit your new HTTPS version to Google Webmaster Tools so your website is indexed properly.
Everything should work just fine in 2018!
I hope this review was helpful and just leave a comment for any questions and I’ll do my best to answer them. Thanks for your visit!
